Most treadmills don't die. Their control boards do.
The belt jerks under your weight. The console flickers and resets. The speed drifts while you're mid-run. Or the whole machine goes dark and stays dark. Almost every owner I talk to assumes the motor is finished, and almost every time the motor is fine. The treadmill motor control board, the circuit board that takes wall power and turns it into a controlled signal the motor can use, is what failed.
I've done this repair more than once on machines in my own living room, and I field the same call from clients every few months: the belt quit, what now. What follows is the process I use. Confirm the board is actually the problem, buy the right replacement, install it without frying anything, and test it before you trust it with a real run.
Why you should trust me
I've coached runners for 12 years and logged over 40,000 miles myself, almost all of it outdoors, until Austin summers and louder knees pushed a treadmill into my 680-square-foot apartment. I bought a cheap folding machine to survive the months when it's either too hot or too cold to run outside, then started testing the way I coach: one rep at a time, logged, no shortcuts.
I've unboxed, folded, wheeled, and run on more than 30 machines since. I know the sound a motor makes when it's on its way out, the wobble of plastic incline blocks, and the exact deck length where my stride starts turning into smaller than normal steps. I don't recommend a machine I haven't run on, and I don't tell anybody to buy a control board until we've walked the diagnosis together. A board is a cheap fix on a good machine and a waste of money on a bad one, and the difference is not the price tag.
How I judged the parts
Two things have to be true before you spend anything on a repair. The part has to match your machine, and the machine has to be worth the part.
On the part, I look at four things: whether it's a drop-in for the factory board, whether the connector layout matches the harness you already have, whether it's built to handle more heat cycling than the original, and whether the seller tells you plainly which models and motors it fits. A control board that mounts in the same holes but needs three adapters is not a drop-in. A listing that never names your machine is a coin flip, and I don't gamble with other people's money.
On the machine, I use the same filter I use for any treadmill recommendation. Does the deck fit a real stride? Is the frame solid enough to keep the belt tracking? Can one person fold it and wheel it out of the way? If the answer to those is no, the honest move is to put the repair money toward a machine that passes the checks.
Diagnose it before you order anything
Run these checks in order. Every one of them is free, and each one imitates a dead board well enough to fool people into buying a part they didn't need.
Check the outlet and the cord. Plug something else into that outlet. Make sure the treadmill isn't sharing a circuit with a space heater or running off a long extension cord. Voltage sag looks exactly like a failing board.
Check the safety key. If the magnetic lanyard isn't seated, nothing runs. It is the most common false alarm in the category, and it costs nothing to rule out.
Check belt friction. Unplug the machine, stand on the belt, and push it backward with your feet. A healthy belt moves with steady effort. If it barely budges, your belt and deck are the problem, not the electronics, and a new board will burn itself out trying to push through that drag.
Read the console. Console lights up but the belt won't move points at the board, the motor, or the speed sensor. A completely dead console points at the board's power section or its fuse.
Find the fuse. Many boards carry an onboard fuse. Replace it once. If it blows again, stop. Something downstream is drawing too much current, and the board is done.
Use your nose and your eyes. Burnt smell, scorch marks, bulging capacitors, discolored solder joints. If you see them, the board failed and it is not coming back.
The parts you'll need
You need a board that fits and a machine that deserves it. Here is what I'd reach for in each case.
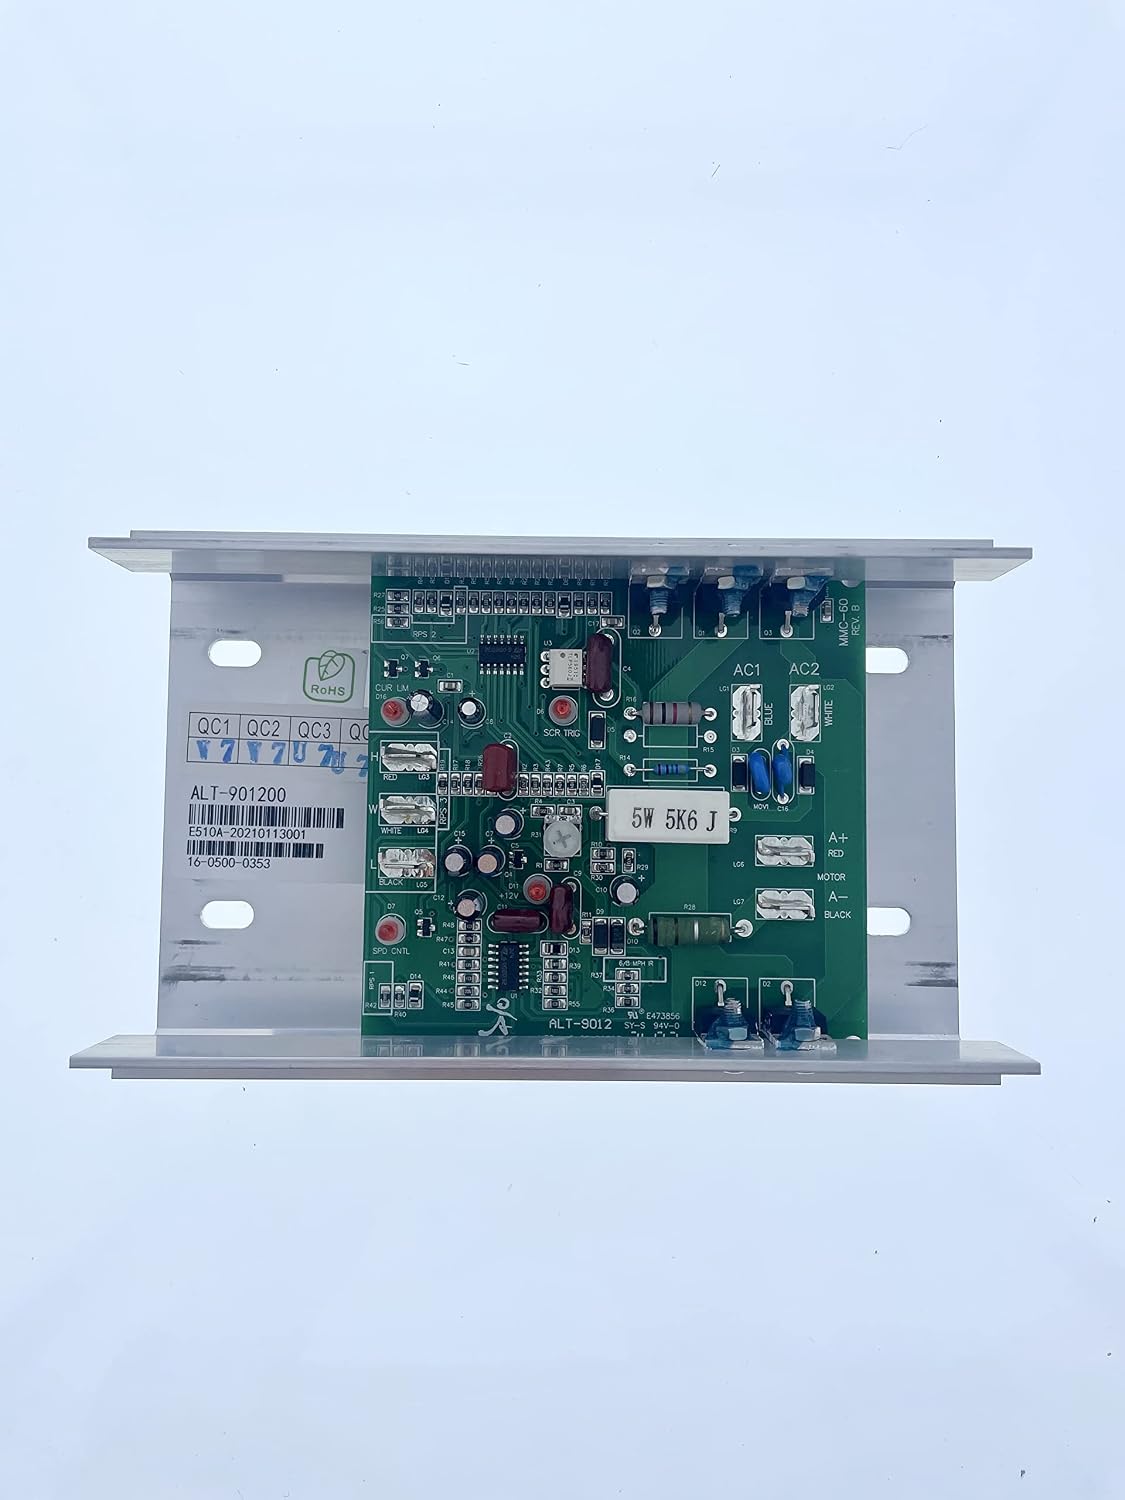
The replacement part: Treadmill Doctor MC-60 Upgraded Treadmill Motor Control Board
 Visit on Amazon →
This is an upgraded replacement controller for machines that run an MC-60 style motor controller, sold by Treadmill Doctor, a name that shows up in every forum thread about a dead belt. The word "upgraded" is doing real work here. Upgraded boards are built with components rated for more heat cycling than the factory part, and heat is what kills most original boards in the first place. Check current Amazon price.
Before you order, do two things. Photograph your old board, front and back, with every connector still attached. Then count the connectors and match the plug shapes. A board that fits the mounting holes but not the harness is a return, not a repair. Confirm the listing covers your exact model and motor, because MC-60 style controllers were used across a lot of machines and not every version is wired the same way.
Flaws but not dealbreakers: Replacement boards ship with a thin instruction sheet and no harness labels. Label your own wires with tape before you pull anything and this stops mattering entirely.
Anyone with a dead board on a sound machine and a screwdriver they know how to use should start here.
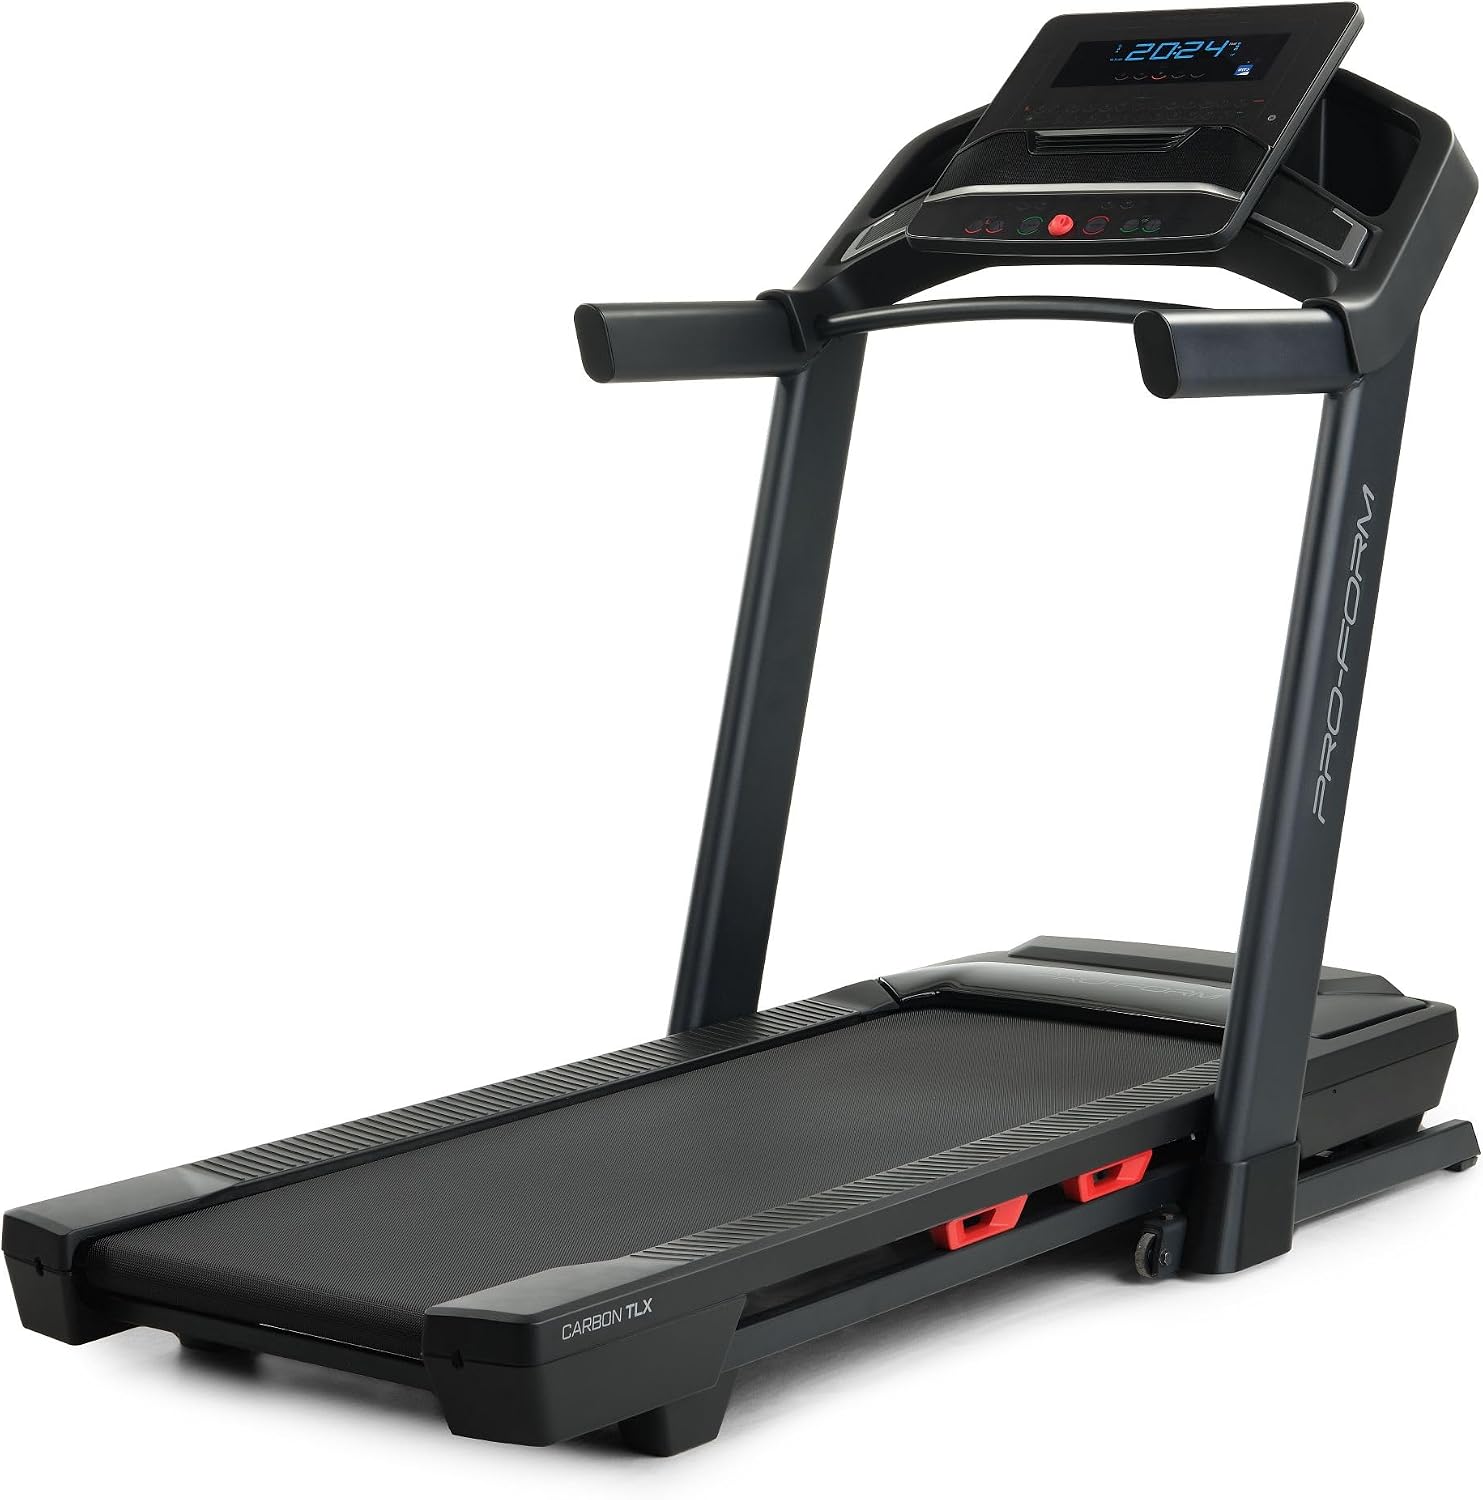
If the repair math fails: ProForm Carbon Treadmills
 Visit on Amazon →
A board swap only makes sense on a machine whose deck, belt, and frame are still worth saving. If yours isn't, this is the class of machine I point apartment runners toward instead of sinking another repair into a tired deck. Check current Amazon price.
Judge it the way I judge every folding treadmill. Look at the deck length in the specs and compare it to your actual stride, because a belt that's too short turns your run into a shuffle and your hips will file the complaint later. Look at the fold and the transport wheels in the listing photos, since folding only counts if you can move the thing once it's folded. And study the photos twice. What's pictured and described on a product page is not always what arrives in the box.
Flaws but not dealbreakers: You are buying a whole machine to solve a part problem, so make sure the machine is the upgrade you actually want and not just the fastest way to stop thinking about the repair.
Anyone whose frame flexes, whose deck is gouged, or whose console is also dead should be shopping here rather than ordering a board.
The replacement workflow
This takes about an hour the first time. Work on a hard floor, not carpet, so you don't lose screws.
Step one: Unplug it and wait. Pull the cord from the wall. Motor control boards hold a charge after the power is cut, so give it time before your fingers go anywhere near the terminals. Do not open the hood with the machine plugged in, not even to "just look."
Step two: Photograph everything. Every connector, every wire color, every screw location, before you touch a single one. Tape labels on the harness ends if you have masking tape. This is the step people skip and the step they regret.
Step three: Remove the motor hood. The screws run around the front of the deck where the motor sits. Put them in a cup. Some hoods also clip at the rear edge, so lift gently rather than yanking.
Step four: Disconnect the harness. Motor leads, incoming power, the console ribbon, the speed sensor, and the incline motor lead. Pull connectors by the housing, never by the wire. If a connector fights you, it has a locking tab you haven't pressed.
Step five: Pull the old board. Note the mounting screws and, if the board sat on a heatsink with thermal paste, note where the paste was. Take the old board out and set it beside the new one for a final visual comparison of every connector.
Step six: Mount the new board. Same holes, same orientation, fresh thermal paste if the original used it. Snug the screws. Do not overtighten into a plastic standoff.
Step seven: Reconnect in reverse order. Match colors and connector keys, and never force a plug into the wrong socket. When you're done, compare the harness against your photographs from step two before you put the hood back on.
Step eight: Safety lanyard test. Plug in, insert the key, and start the belt at the lowest speed with nobody standing on it. Then pull the lanyard and confirm the belt stops. If it doesn't, unplug everything and recheck your console connection. That clip is non-negotiable, and it's the first thing I verify on any machine.
Step nine: Check the belt before you run. If your belt and deck were dragging, fix that now with a proper clean and a tube of lubricant. A new board pushing a dry belt is how you buy two boards.
Testing the repair before you trust it
Walk on it for ten minutes at a conversational pace before you run a single step. Listen for surging, watch the belt track, and feel the motor hood with the back of your hand. Warm is normal. Hot to the touch is not, and neither is any new burning smell.
Then run. Start with a short easy session, watch for speed drift at your normal pace, and check belt tension and tracking afterward. If the belt slips underfoot, it needs adjustment, not another board.
Repair shop, used board, or a new machine
A technician will charge you for the visit whether or not the board turns out to be the problem, and that diagnostic time is money you could have spent running the checks above yourself. Hire one if wiring makes you genuinely nervous. Skip one if you can match colors and count screws.
A used board pulled from a parted-out machine is the cheapest option and the least predictable one. Unknown history on a part whose whole job is surviving heat is not a bargain I'd take.
And sometimes the answer is a new treadmill. If the deck is worn, the frame flexes, and the console is dead too, you're not repairing a machine, you're funding a project.
What this all costs
I won't quote numbers here, because prices move and the listing is the only place that matters. Check current Amazon price on the board and on anything you're comparing it against, then do the math that actually counts: cost per mile of remaining life.
- Board is the only failure, frame and deck are sound: repair it. That's the cheapest mile you'll ever buy.
- Board plus worn belt and deck: fix the belt and deck first, or replace the machine.
- Console is dead too: price the console before you order a board, because two dead parts change the math.
That's the job. Most dead treadmills are one board away from running again, and the diagnosis costs nothing but an hour and a little patience. Do the checks, buy the right part, and let the machine earn its keep.