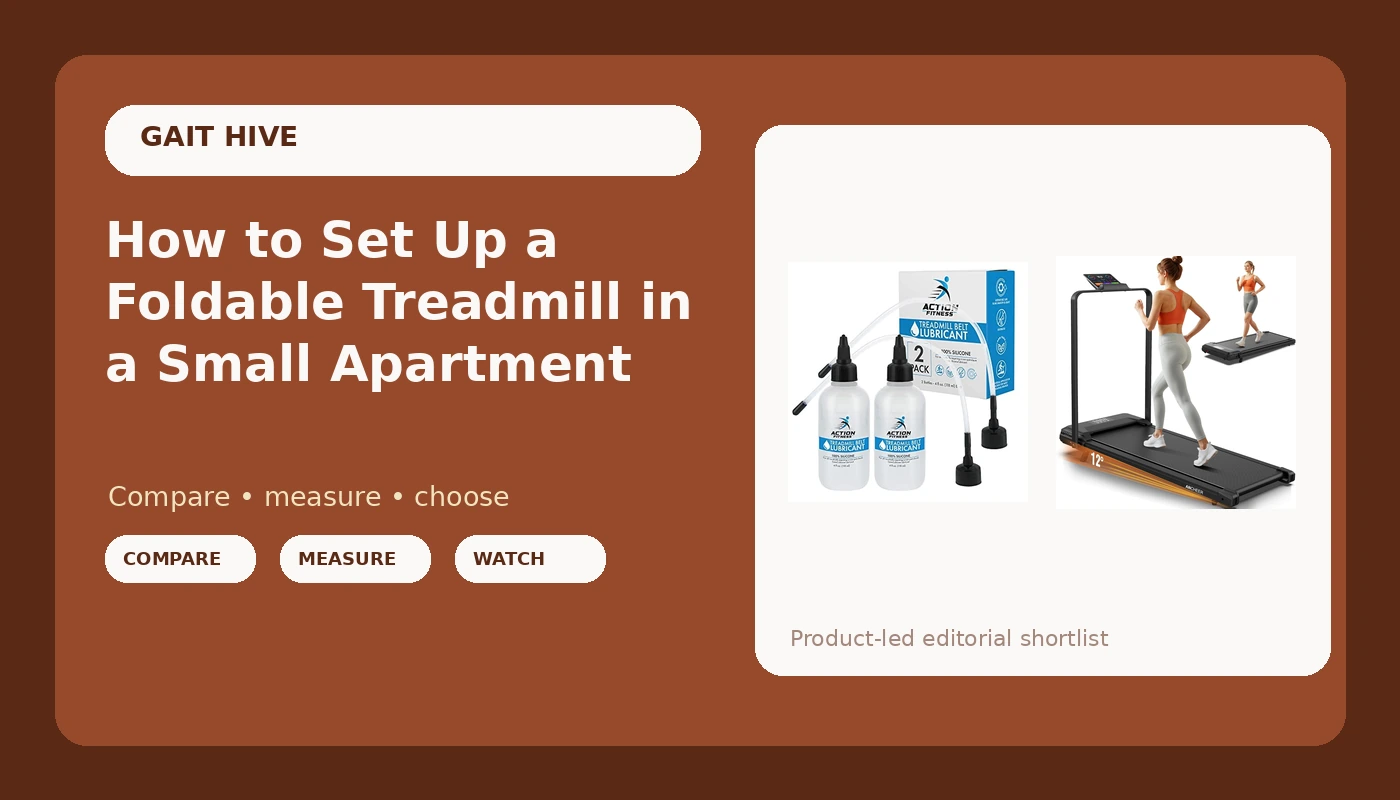
Most people treat foldable treadmill setup as an assembly problem: read the sheet, bolt the uprights on, plug it in. Then the machine lives in the middle of the living room for two years, the belt starts chirping around month four, and nobody can remember where the safety lanyard went.
I have unboxed, folded, wheeled, and run on more than 30 machines inside a 680-square-foot apartment in Austin. Foldable treadmill setup in a small space comes down to three decisions stacked on top of each other: where the machine lives when it is open, where it lives when it is folded, and whether your stride fits the belt at all. Get those three right and the rest is turning bolts.
You can do the whole job with a tape measure, a bottle of silicone lubricant, and about an hour. Here is the order I do it in, and the checks I refuse to skip.
Why you should trust me
I have coached runners for 12 years and logged over 40,000 miles myself, almost all of it outdoors. Then Austin summers got worse, my knees got louder, and my clients kept asking the same question: what treadmill should I buy for my apartment? I did not have an answer I trusted, because I had never run on one. So I bought a cheap folding treadmill for my own small living room and started testing the way I coach: one rep at a time, logged, no shortcuts.
Since then I have set up and lived with more than 30 machines in that same apartment. I know how plastic incline blocks wobble under a deck, I know the deck length where my stride turns into smaller than normal steps, and I know which motors you can hear through a wall even when the box says whisper quiet.
What I check on every machine, in order: deck length at a full running stride, motor noise at walking speed, whether the fold and the wheels let me move the thing alone, whether the incline system feels solid or loose, whether the magnetic safety lanyard actually kills the belt, and how the belt looks after a couple hundred miles. That is the bar. No machine gets recommended here without real use in a real living room, not a showroom floor.
How I picked and how I tested
This guide is short on purpose. Setting up a folding treadmill takes one machine and one consumable, so that is what is on the list: the treadmill itself and the silicone lubricant that keeps the belt and deck alive.
I run every folding treadmill through the same sequence before it earns a mention. I measure the open footprint and the folded footprint with a tape measure and compare both to the wall I plan to park it against. I walk it, then I run it at a full stride to see exactly where the deck runs out. I take a decibel reading at walking speed while I am on a conference call, because quiet matters more than horsepower in an apartment. I run the incline from flat to its top setting and back with my weight on the deck. I fold it and wheel it across the room ten times. And I check the belt for wear and tracking after a couple hundred miles, which is where cheap belts give themselves away.
For lubricant the bar is simpler. It has to be 100% silicone so it does not attack the belt, and it has to cover more than one maintenance cycle so you are not reordering in the middle of the job.
What you need before you start
Before you cut the tape on the box, gather four things: a tape measure, a wall outlet you can reach without an extension cord, a hard and level spot with clearance behind the machine, and a bottle of 100% silicone lubricant. Add a second person for the unboxing if you can. Not because the machine is heavy, but because the box is awkward and cardboard corners lose to doorframes every time.
If you plan to walk at an incline, or run at all, add one more requirement to the list: a handle bar. A pad with no handle bar is a walking machine, full stop.
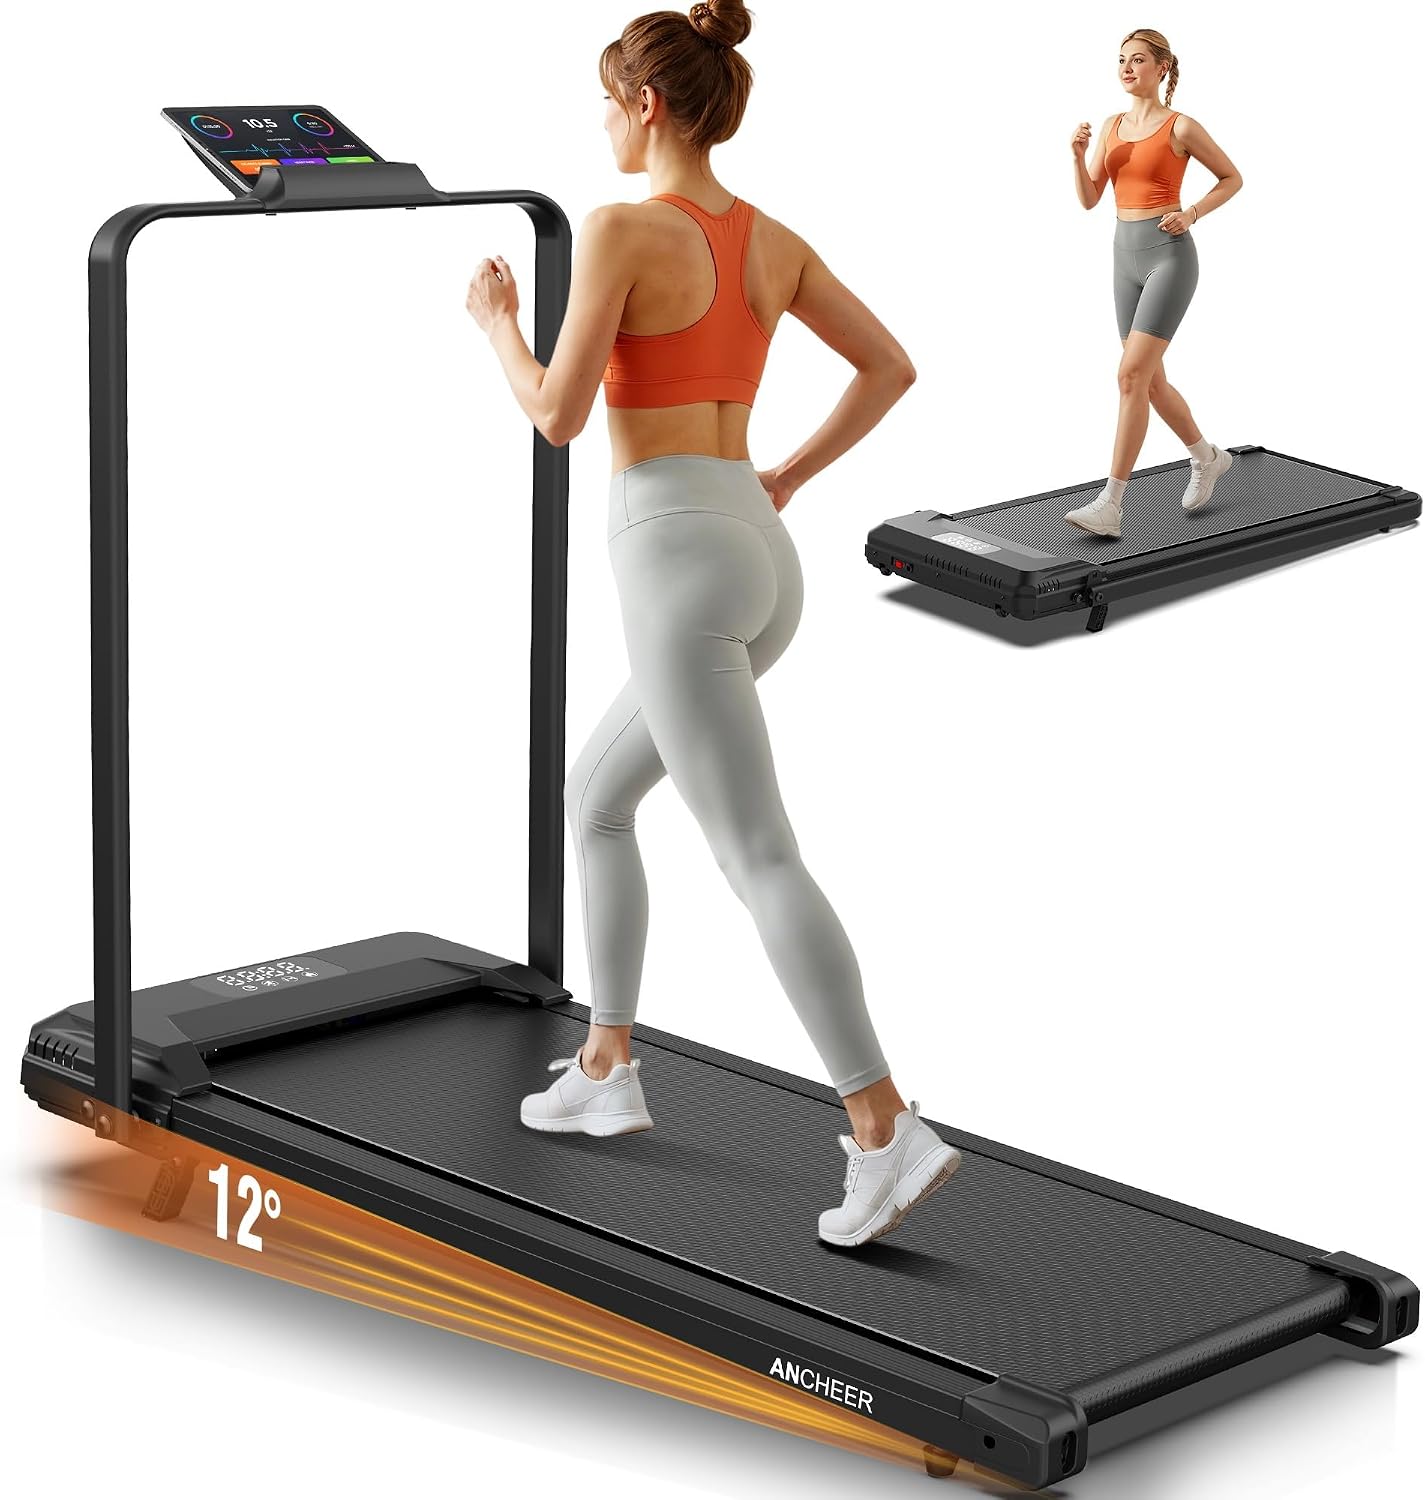
The machine: ANCHEER Treadmill with Handle Bar & 12% Incline - 2s Foldable/Max 320 lb Capacity Walking Pad - Portable Folding Treadmills for Home, Gym, or Office with LED Screen and Remote Control
 Visit on Amazon →
The name on this one lists the specs I actually care about in a small apartment. A handle bar, which is the piece a lot of slim pads leave off and the piece you want the second you touch the incline button. A 12% incline, which is enough to turn a flat walk into real work. A two-second fold, which is the number that decides whether the machine gets used or becomes furniture. A 320 lb capacity, an LED screen, and a remote, so you are not leaning forward to stab at a console mid-stride.
What to verify before you buy, because the product page is not the product: confirm the handle bar is in the box and not just in the photos, confirm whether the incline is set by motor or by hand, and confirm the folded height and whether the machine rolls on wheels. A fold you cannot move is not a fold. Then measure the belt against your stride, which I cover below, because that is the one spec no photo will settle for you.
Flaws but not dealbreakers: this is an entry-level folding machine, and it will not feel like the gym treadmill you ran on last winter. The deck is the thing to check first if your stride is long. If you are a fast runner, a folding machine may simply not be the right tool, and that is worth admitting before the box arrives rather than after.
Anyone setting up in a living room, a spare bedroom, or an office corner where the machine has to disappear at the end of the day will get the most out of it.
The maintenance kit: Action Fitness 100% Silicone Treadmill Lubricant - 4oz Bottles, 2 Pack
 Visit on Amazon →
Lubricant is the cheapest part of owning a treadmill and the part that decides how long the belt and deck last. This is 100% silicone, which is what belongs under a treadmill belt; petroleum-based products are not the thing you put on a rubber belt, no matter what a forum thread tells you. Two 4-ounce bottles means you have a spare on the shelf instead of a reorder in the middle of a maintenance cycle.
Flaws but not dealbreakers: a 4-ounce bottle is not a lifetime supply. If you walk most days, you will work through the two-pack faster than you expect, so plan the next order before you finish the first bottle. A dry belt is what kills a cheap treadmill, and a replacement belt costs far more than the lubricant that would have saved it.
The setup workflow, step by step
Step one: measure twice, unbox once. Measure the machine open and measure it folded, then measure the wall where it will live. Leave clearance behind the deck so the belt and the frame are not jammed against drywall. If you cannot find a spot where the folded machine clears a doorway, you have not found the spot yet.
Step two: pick the floor. Hard and level beats soft and cushioned. Deep carpet lets the deck flex under your weight, which is exactly what you do not want. If carpet is your only option, put a mat under the machine. Keep it near an outlet you can reach without an extension cord, because a cord stretched across a room is both a trip hazard and a bad idea.
Step three: stage the unboxing. Box on a hard floor, tape cut carefully, hardware bag emptied into a bowl so nothing rolls under the couch. Read the manual once before you touch an Allen wrench. Instructions translated by someone who has clearly never seen a treadmill are common in this category, so if a step makes no sense, study the diagram twice before you force a bolt.
Step four: clip the safety lanyard and test it before your first step. The magnetic lanyard kills the belt if you fall. Clip it on, start the belt at the lowest speed, pull the lanyard, and confirm the belt stops. This is the one safety feature I check on every machine, and it takes ten seconds.
Step five: break the belt in at walking speed. First session is a walk, flat, no incline. Watch the belt track down the center of the deck. If it drifts to one side, adjust it per the manual before you run on it. A belt that tracks straight at three miles per hour is a belt you can trust at six.
Step six: run the incline through its full range, twice. Once with the deck empty, once with you standing on it at a walking pace. This is where you learn whether the incline system is solid or whether it feels like plastic blocks under the deck that wobble slightly. If it wobbles, better to learn that in your living room than at mile two of a run.
Step seven: fold it and wheel it ten times. Do this the day you set it up, not the day you need the space back. Fold it, lock it, wheel it to where it lives, unfold it, and do it again. Ten times. If you cannot move it alone, the fold does not count, whatever the product page claims about seconds.
Step eight: set up the remote and the screen where you can reach them. A remote that lives on the floor is a remote you will not use. Put it in a spot you can hit without breaking stride, and angle the LED screen so you can read it from a walk, not just from a standstill.
Step nine: lubricate before the belt tells you it needs it. The belt should never get to the point where you can hear it dry. First application goes on at setup, then follow the manual interval.
The deck check that decides everything
Stand on the belt, walk for two minutes, then do what you actually plan to do. If you are a runner, run. If your stride is long and the belt is short, you will feel it right away: you will start taking smaller than normal steps to stay on the deck, and that is the beginning of a bad relationship with a machine you just paid for.
A practical test before you buy: take three of your normal running steps and see whether you run out of belt. Shorter decks are fine for walking. Runners need room to actually stride out. If your plan is a desk setup where you walk and type, the deck lecture does not apply to you, but the handle bar and the incline still matter more than the console does.
Maintenance you cannot skip
Lubrication. Check the manual for the interval; a common schedule is every 30 to 50 hours of use, or roughly every one to three months for a daily walker. Silicone only, applied under the belt, never on top of it.
Belt tension and tracking. If the belt slips when you step on it, or drifts to one side, stop and fix it. A slipping belt chews itself up, and a replacement is a project.
The incline system. Run it up and down once a week so the mechanism does not seize. If it wobbles under your weight, keep your incline work to walking speeds until you know how it behaves.
The fold hinge and the wheels. Keep them clean and free of carpet fiber. The hinge is the part that gets abused every single day, and it is the part that turns a folding treadmill into a fixed one when it quits.
The safety lanyard. Keep it clipped where you can reach it, and never walk or run without it. It is the cheapest insurance on the machine.
The competition and why it lost
Full-size gym treadmills are the first thing people ask about, and they are the wrong tool for a small apartment. They are heavy, they do not fold, and in a small living room they turn into a very expensive coat rack.
Walking pads with no handle bar are the other extreme. They are excellent under a desk, and they are honest about what they are. But a walking pad is a walking pad. If you want to actually run, you need a deck that fits your stride, and most pads do not have one.
And any machine whose photos show a handle bar that is not in the box loses before the setup even starts. That is a return, not a purchase. Read the listing twice and the reviews once.
What this all costs
Two purchases: the machine and the lubricant. Everything else, whether that is a mat, a wall hook for the remote, or a spare bottle on the shelf, is optional. Check current Amazon price on both product pages, because treadmill pricing moves around more than almost anything else in home fitness.
The number that matters is not the sticker. It is cost per use. A folding treadmill that gets set up in the right spot and folded every night gets used. One that blocks the hallway gets folded once and never unfolded again. Same money, completely different machine.
That is the whole job. Measure the spot, check your stride against the deck, clip the lanyard, fold it ten times before you trust the fold, and keep the belt lubricated with silicone. Do that and the machine earns its floor space. Skip it and you bought an expensive place to hang laundry.